About This Guide ℹ️
This guide will teach you how to containerise your Next.js application with Docker and run your container. We will accomplish this by creating a custom container image that uses
nodeas a base image.
Introduction
Hello! My name is Daniel Medina and today you'll be learning how to use Docker to containerise a Next.js project. By the end of this guide you will have built a container image you can deploy to your favourite cloud provider or to your own server
Prerequisites
To follow along with this tutorial you will need a Next project and Docker installed on your computer. You can click this link and follow the installation instructions for your operating system.
If you don't have a Next.js app you can create a boilerplate project by running the following command in your terminal:
npx create-next-app
Getting Started
Our first step will be to create the Dockerfile in the root of our project. Next we'll set the base image to node
| Dockerfile
FROM node:14
Now we'll set the working directory to /app using the WORKDIR keyword.
| .dockerfile
FROM node:14
WORKDIR /app
Next we'll copy our package.json and yarn.lock (or package-lock.json)
| Dockerfile
FROM node:14
WORKDIR /app
COPY ./package.json ./
COPY ./yarn.lock ./
The next step is to install the dependencies needed for our app. To do that we will use the RUN keyword followed by the command we want to run.
| Dockerfile
FROM node:14
WORKDIR /app

COPY ./package.json ./
COPY ./yarn.lock ./

RUN yarn install
Following the installation of the dependecies, we will now copy the application code directly into the container.
| Dockerfile
FROM node:14
WORKDIR /app
COPY ./package.json .
COPY ./yarn.lock .
RUN yarn install
COPY . .
But wait... We run into a problem. Won't this copy our node_modules folder too? Yes. How do we solve that? We can create a .dockerignore file that works similarly to a .gitignore and allows us to tell docker which directories to ignore. We will now create the .dockerignore file and add node_modules to it.
| Dockerignore
node_modules
Now that we fixed that, what's next? Now we have to expose the port that our app will run on. By default Next.js runs on port 3000, so we will need to expose port 3000 on our docker container. We can do that by using the EXPOSE keyword.
| Dockerfile
FROM node:14
WORKDIR /app

COPY ./package.json .
COPY ./yarn.lock .

RUN yarn install
COPY . .

EXPOSE 3000
The next step is to build the Next.js app. Next.js requires us to run next build before running next start to be able to pre-render all static pages. To do that we will run the command within our Dockerfile. We will run it with our package manager, in this case I'm using yarn.
| Dockerfile
FROM node:14
WORKDIR /app

COPY ./package.json .
COPY ./yarn.lock .

RUN yarn install
COPY . .

EXPOSE 3000

RUN yarn build
For our final step in the Dockerfile we have to specify the command. The command is the entrypoint to the container. In this case our command will be next start or yarn start. Let's add that to our Dockerfile. It uses this array-like syntax where the command is the first item and arguments are the second.
| Dockerfile
FROM node:14
WORKDIR /app

COPY ./package.json .
COPY ./yarn.lock .

RUN yarn install
COPY . .

EXPOSE 3000

RUN yarn build

CMD [\"yarn\", \"start\"]
We finished our Dockerfile. Now we need to build the image. Let's run this command to build it. (Don't forget the period at the end!)
docker build -t <image name> .
The command will take some time depending on the amount of dependencies and how large your project is, so leave it do it's magic alone.
Finally we can run the container with this following command:
docker run -dp <host machine port>:3000 <image name>
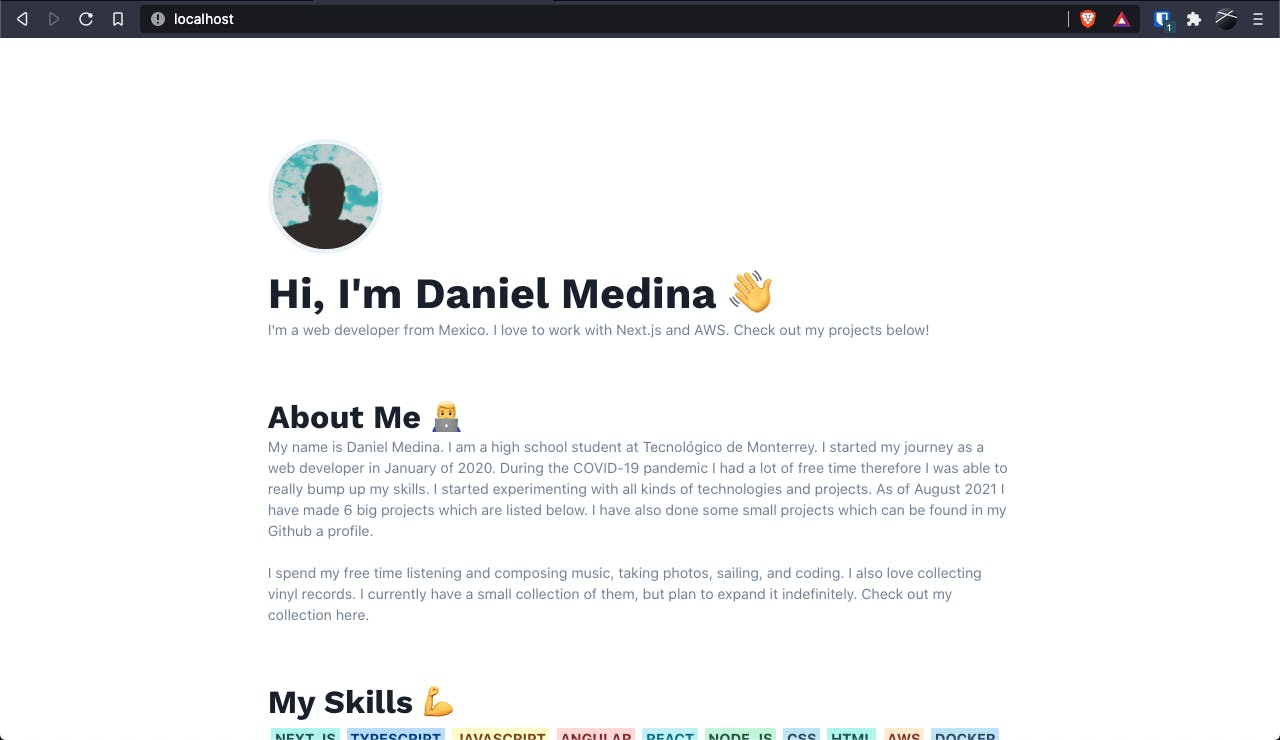
Now open up your browser in localhost at the port you selected and boom! There is your Next.js app running in a container. I containerised my portfolio website! Check it out at medina.dev

Thank you for reading my article! Most importantly I hope you learned how to containerise Next.js applications. I encourage you to containerise your own apps!

